


How To Turn Off Your Cache On Chrome & Firefox Browsers
Introduction To Browser Caching
Your web browser’s cache is a real workhorse, quietly laboring away in the background to speed up your browsing experience. Caching saves elements like images, stylesheets, and JavaScript files so that the next time you visit the same page, the browser doesn’t have to download them again. While this is undoubtedly useful, there are situations where you’d like to turn off caching, especially during web development, debugging, or troubleshooting.
Let’s explore the steps to disable the browser cache on two popular web browsers: Google Chrome and Mozilla Firefox.
Why Would You Want to Turn Off the Cache?
- Web Development: Web developers often disable the cache to see the real-time changes they’ve made to a website.
- Troubleshooting: Sometimes cached data can conflict with the live version of a website, causing issues that can be hard to diagnose.
- Privacy Concerns: Cached files could potentially contain sensitive information.
- Fresh Content: In some scenarios, you may want to ensure you’re seeing the most up-to-date version of a web page or application.
Google Chrome
Temporary Disable
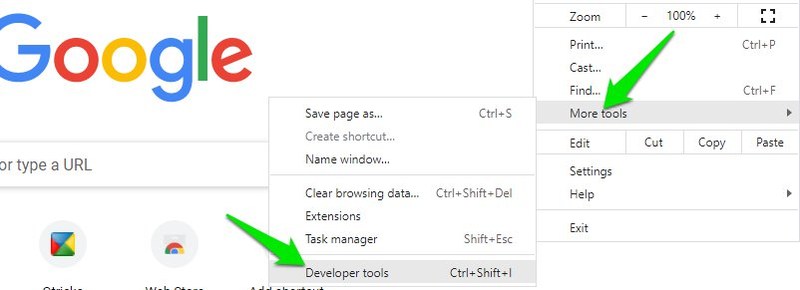
- Open Developer Tools: Right-click anywhere on a web page and select “Inspect” or use the keyboard shortcut
Ctrl+Shift+I(Windows) orCmd+Opt+I(Mac). - Network Tab: Go to the “Network” tab within Developer Tools.
- Disable Cache Option: Check the box that says “Disable cache”.
- Refresh: Refresh the page with
F5orCtrl+R(Windows) orCmd+R(Mac).
Note
Temporarily disabling the cache this way will only be effective as long as the Developer Tools window remains open.
Permanent Disable
- Open Chrome Settings: Click the three vertical dots on the top-right corner, then choose “Settings”.
- Privacy and Security: Scroll down and click on “Privacy and Security”.
- Clear Browsing Data: Click on “Clear browsing data” and check the “Cached images and files” option, then click “Clear Data”.
Caution
Permanently disabling the cache is generally not recommended as it can severely slow down your browsing experience.
Mozilla Firefox
Temporary Disable
- Open Developer Tools: Right-click on a webpage and select “Inspect Element” or use the keyboard shortcut
F12. - Toolbox Options: Click the gear icon at the top-right corner of Developer Tools.
- Advanced settings: Under “Advanced settings”, check the “Disable Cache” option.
- Refresh: Refresh the page with
F5orCtrl+R(Windows) orCmd+R(Mac).
Note
As with Chrome, this will only disable the cache as long as the Developer Tools window is open.
Permanent Disable
- Open Firefox Preferences: Click the menu button (three horizontal lines) and choose “Options”.
- Privacy & Security: Scroll down to the “Privacy & Security” section.
- Cached Web Content: In the “Cached Web Content” section, click “Clear Now” and uncheck “Override automatic cache management”.
Caution
Permanently disabling your cache in Firefox is also not advised unless you have a specific reason to do so.
Conclusion
Disabling your browser cache can be a useful tool for web development or troubleshooting. However, it’s generally not recommended for everyday browsing due to the performance hit. You can always disable temporarily and then re-enable it back after completing your tasks.
If you’ve successfully navigated these steps, you’ll have effectively turned off caching, ready to see the web in its most up-to-date form, or debug without past data muddying the waters.


My business has worked with Top Marketing Agency for the past few years and they have been amazing. Their agency is like an extension of our company, they know what we need and they are driven to help us succeed!